A quick photo of your little one blowing out birthday candles. Nan opening a thoughtful gift. The dog asleep in the one patch of afternoon sun. These are the moments worth keeping - until phone photo glare puts a bright white patch across the face, window, or centre of the shot.
Glare is one of those frustrating things you often do not spot until later, when you are flicking through your camera roll looking for photos to print. The good news is that most glare can be prevented with a small change in where you stand, how you hold your mobile, or the light you use. And when it is already there, a little editing may be enough to rescue a photo you love.
What causes phone photo glare?
Glare happens when a strong light source bounces directly into your mobile camera lens. It might be sunlight through a window, a ceiling light above the dining table, the flash reflecting off glasses, or even a shiny surface in the background. Your camera sees that reflected light as a bright streak, hazy wash, or blown-out white spot.
It is not always the same as a reflection. A reflection shows a recognisable object, such as your own face in a window or the room behind you in a mirror. Glare is usually less defined. It softens contrast, dulls colours and can make part of the photo look foggy or overly bright.
Modern mobiles do a clever job of balancing light, but they cannot change the angle of the sun or remove a bright lamp sitting just out of frame. A lovely family photo can still need a little human help.
Prevent phone photo glare before you take the photo
The easiest fix is to look at the light before you press the shutter. If you can see a bright flare on your screen, pause for a moment. Move yourself, move the subject, or change the angle of the phone. Even a small shift can make a big difference.
Keep direct light out of the lens
When you are photographing someone near a window, avoid pointing your camera straight towards the sun. Instead, have the window to one side of your subject, or stand so the sunlight is behind you and falling gently on their face.
Soft window light is beautiful for family photos, especially on an overcast day. Harsh midday sun is trickier. If you are outside, look for open shade under a verandah, tree, or the side of a building. Your subject will be more evenly lit, and they will not be squinting either.
Change your angle, not just your settings
If a lamp, window, or glossy surface is creating glare, try taking one step to the left or right. Tilt the phone slightly down, crouch a little, or move closer to your subject. You do not need a dramatic new position. The goal is simply to stop the light from bouncing straight into the lens.
This matters especially with photos taken through glass. Whether you are capturing the kids at an aquarium, a newborn in a hospital nursery, or a view from a plane, place your mobile lens as close to the glass as possible without pressing it hard against the surface. Cup your hand around the lens to block light coming from behind you if needed.
Be careful with flash indoors
Flash can be useful in a dim room, but it is rarely kind to glasses, mirrors, framed pictures, shiny balloons, or a glossy cake topper. It can create a bright spot that becomes the first thing you notice in an otherwise precious photo.
If you have enough light from a window or room lamps, turn flash off and hold the phone steady. If the room is very dark, try moving closer rather than relying on flash. For group photos, ask everyone to face towards the brightest available light rather than standing with their backs to it.
Give the camera lens a quick clean
A smudged lens turns tiny light sources into big hazy streaks. It is particularly common after your mobile has been in a pocket, handbag, or passed around during a family event. Wipe the lens gently with a clean microfibre cloth before taking important photos.
It sounds almost too simple, but it can restore sharpness and colour straight away. Avoid using a rough tissue or the corner of a shirt if it feels gritty, as this can leave more smears behind.
A simple checklist for better photos at birthdays and gatherings
Big family days move quickly. Before you start taking photos, keep these four habits in mind:
- Find soft light from a window, doorway, or shaded outdoor spot.
- Turn off flash unless the room is genuinely too dark.
- Check the screen for bright streaks or white patches before taking several shots.
- Take two or three versions, moving slightly between each one.
Can you fix glare in a photo you already have?
Sometimes, yes. It depends on how severe the glare is and where it sits. If there is a mild haze around the edge of the image, reducing highlights and brightness in your phone’s editing tools can bring back some detail. Lowering exposure slightly may also make colours feel more natural.
For a streak of light at the edge, cropping can be the cleanest option. A tighter crop often improves the composition as well, bringing attention back to the person, pet, or moment you wanted to capture.
The harder situation is a large bright patch over someone’s face or a key detail, such as a child holding a card they made. When the camera has recorded that area as pure white, the original detail may not be there to recover. Editing apps can sometimes soften the effect, but heavy edits may leave skin tones looking unnatural or the image looking patchy when printed.
A good rule is to edit gently. Preserve the warmth and recognisable feeling of the moment rather than chasing a perfectly polished image. The photos families treasure most are rarely the staged ones. They are the cheeky grins, messy kitchens, sandy feet and cuddles that tell the real story.
Is a photo with glare still okay to print?
It can be. A little flare around the edge, a small reflection on a window, or a bright background does not automatically make a photo unsuitable. On a small square print, the important question is whether the main subject is clear and whether faces still look natural.
If the glare is distracting, compare it with another shot from the same moment before choosing. Zoom in on faces and check for softness, washed-out areas, and odd colour changes. You may find that a slightly darker photo is actually the better choice once printed because it has more detail.
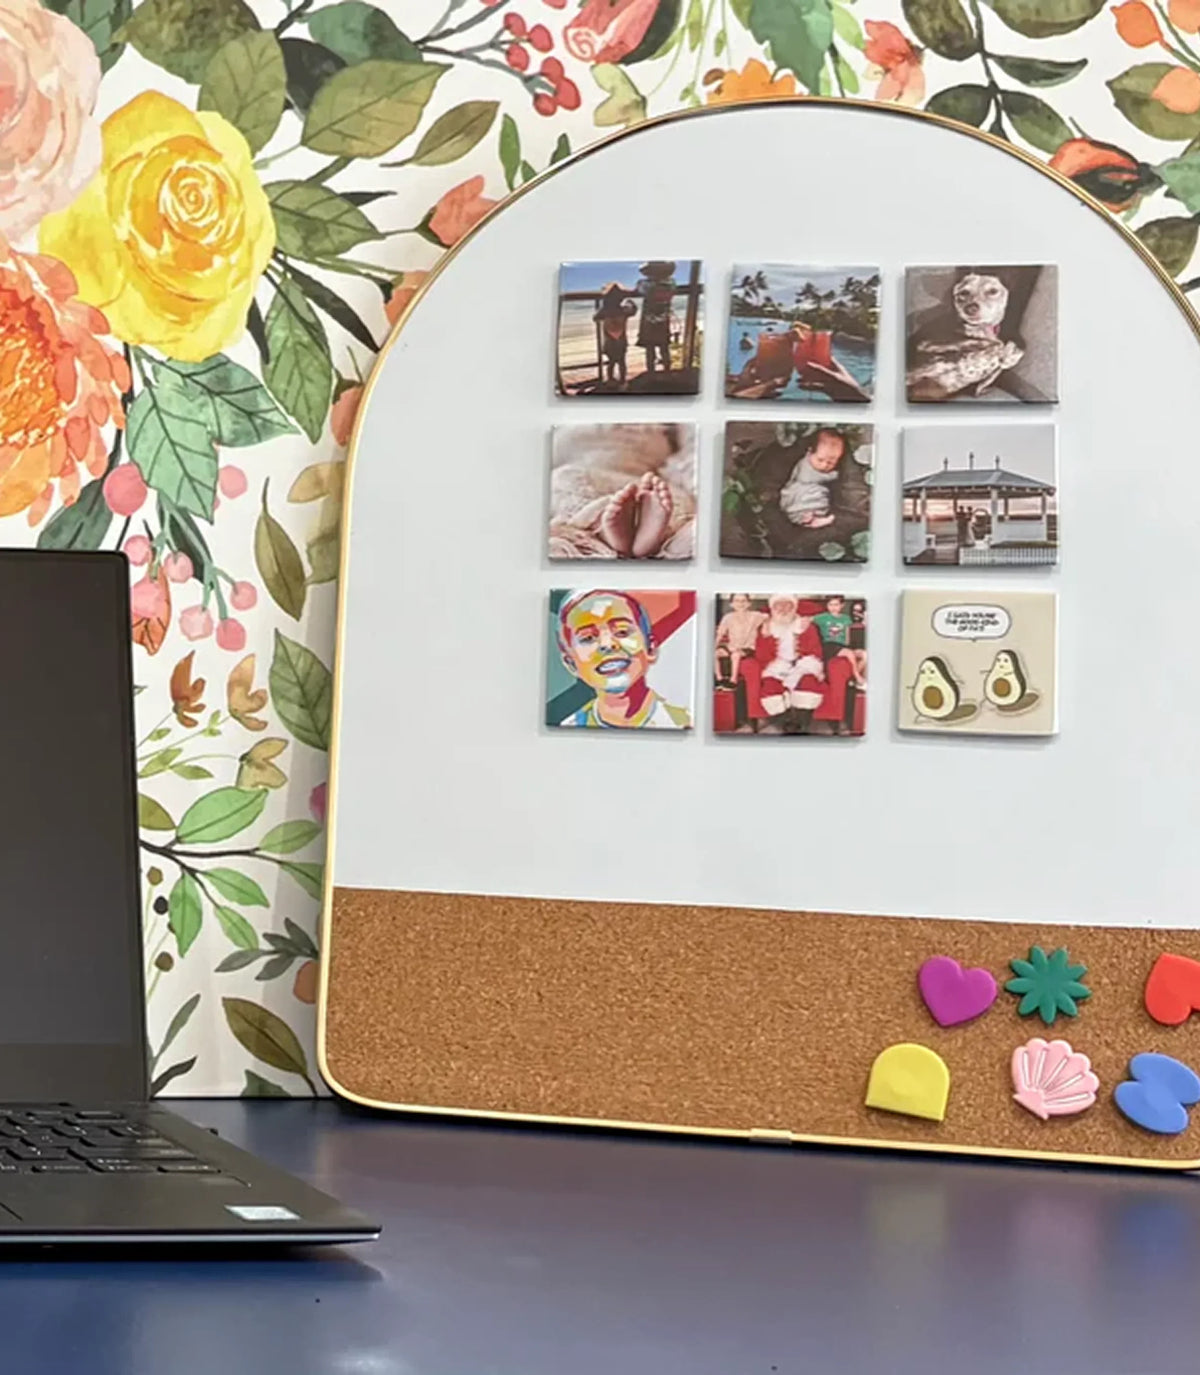
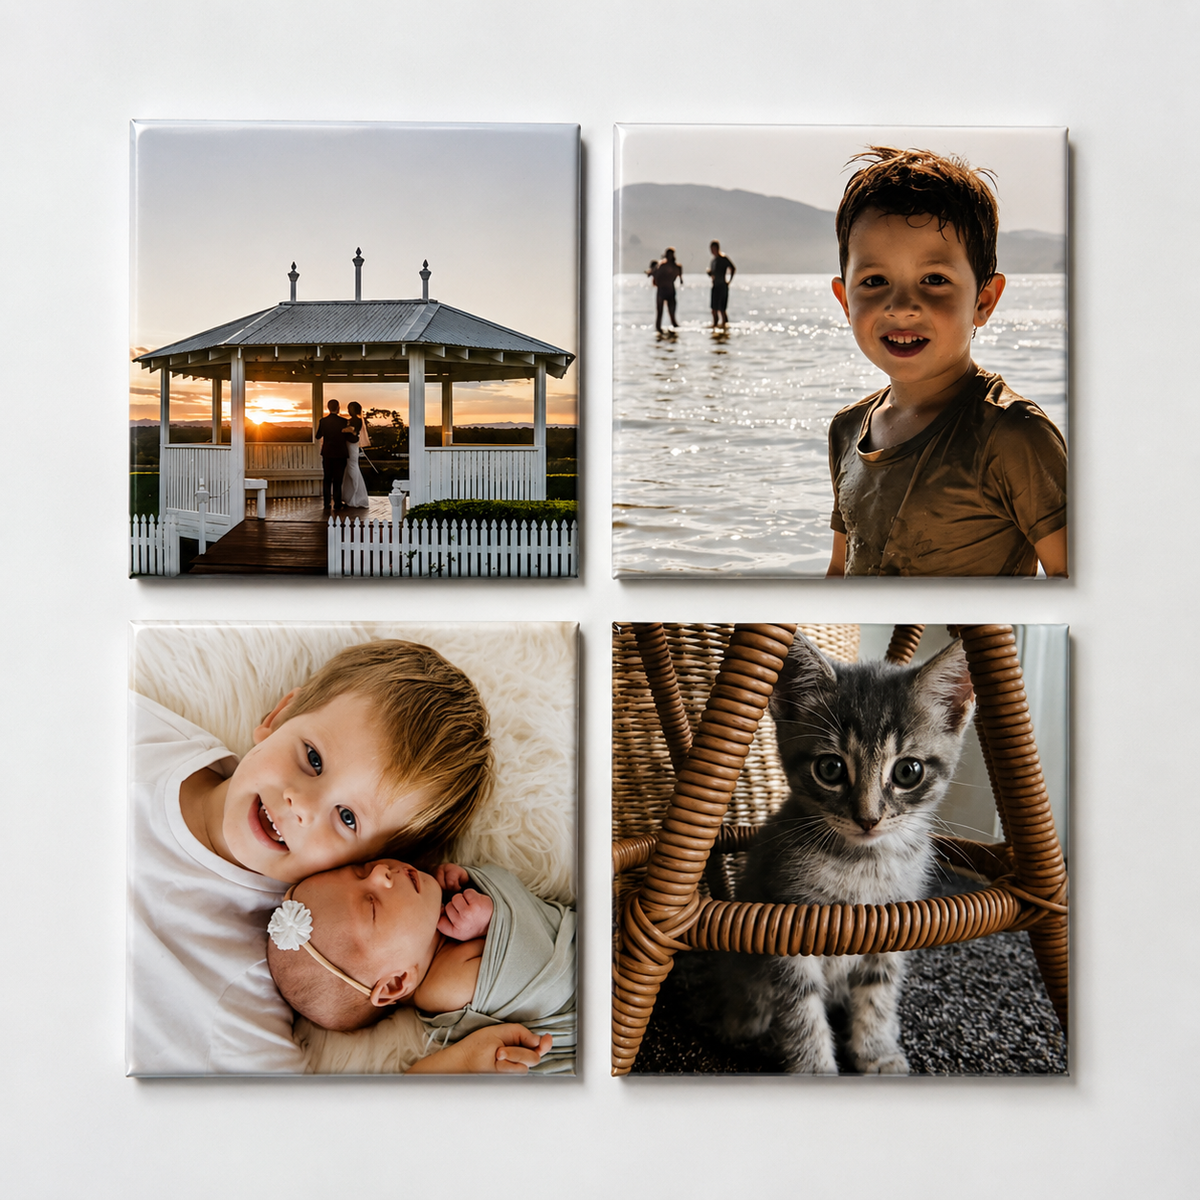
For photos destined for magnets, choose an image with a clear focal point. A close-up laugh, a holiday selfie with a clean background, or a pet looking straight at the camera often works better than a busy, backlit scene. Just Magnets prints each order locally in Newcastle and checks the images along the way, but starting with the clearest version of a favourite memory will always give you the strongest result.
When glare can actually add feeling
Not all flare is a problem. A soft glow behind a couple at sunset, sunlight filtering through leaves, or a gentle burst of light at the edge of a beach photo can make an image feel warm and nostalgic. If the faces are still visible and the light suits the moment, leave it there.
The difference is intention. Artistic flare adds atmosphere without hiding what matters. Accidental glare pulls your eye away from the people and details you want to remember.
Next time you spot that bright patch on your screen, do not write off the photo or the moment. Wipe the lens, take one step sideways, and try again. The best family photos are not always perfect, but they should let the people you love shine through.